In the vendor dashboard settings, vendor can easily customize his/her store. And vendors can setup online store based on his/her settings .
So lets see the options that vendor will get in the vendor dashboard settings:-
What is a store?
Store is the place where vendors will showcase all his products in an interactive design. From the store a customer will get vendor’s product, contact information, store location, and all other information in one view. Vendors will see the page by navigating to Vendor Dashboard → Visit Your Store .
Store Settings
Store banner will represent vendor products concept by one big image. Vendor could use a good visual interactive image to grab the attention of customer. Vendor will set the image from Vendor Dashboard→Settings→Store page.
For better contact between vendor and customer store settings has contact information insert form combined of phone number, email address, physical location information, biography and location map.
Vendors can schedule opening and closing hours for their online stores.
This feature is available in Vendor Dashboard→Settings→Store.
Scroll down to find the widget for Store Opening-Closing Time.
For each day of the week, select from the drop-down Open or Close. If Open, select the duration from the numeric fields.
Click on Update Settings.
Payment Settings
The vendor can set his comfortable payment method for the store. For bank transfers, just add bank account name, account number, name of the bank, address, and finally swift code. Now, save the settings by clicking the Update Settings button.
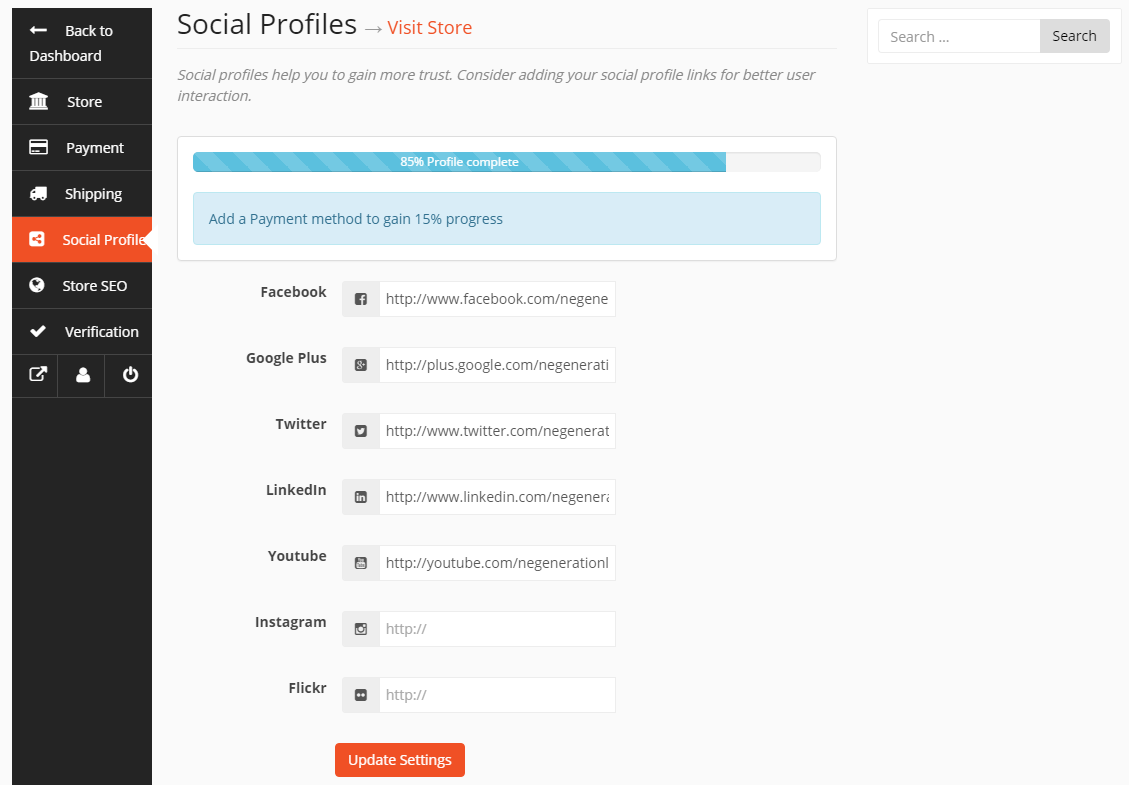
Social Profiles
Social profiles help you to gain more trust. Consider adding your social profile links for better user interaction. You can link every social networking sites with your store from this page.
Store SEO
Your store SEO can help you to increase your store traffic. You can set your SEO title, meta description, meta keywords, Facebook title, description, image, Twitter title, description and image.